Black Widow – Final
Hi folks. I’m back!
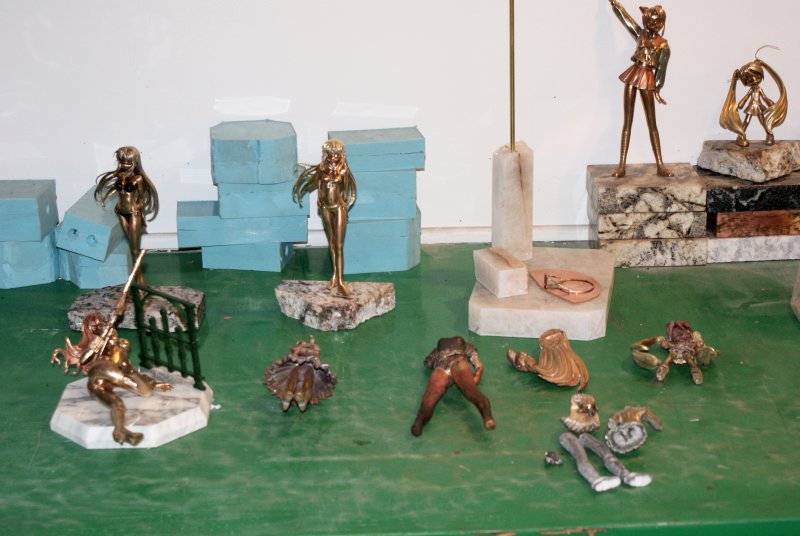
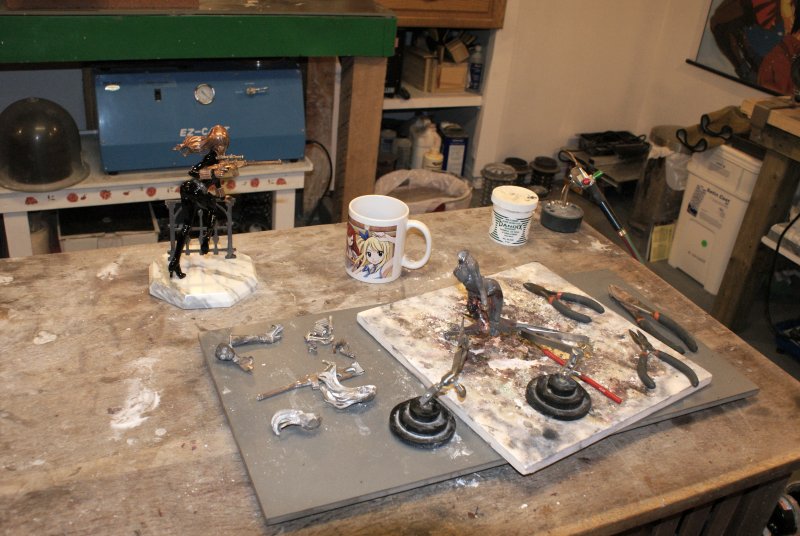
I hope that you all had a wonderful holiday and that 2016 will be a fantastic year for everyone! I thought I would show you what’s on my workbench for this winter. I have a one day show or sale coming up on March 19 in Kelowna, BC that I think I will attend. It’s an anime or cosplay fan expo and I’ll take a vendor table to see what sort of reception I get. Wish me luck?
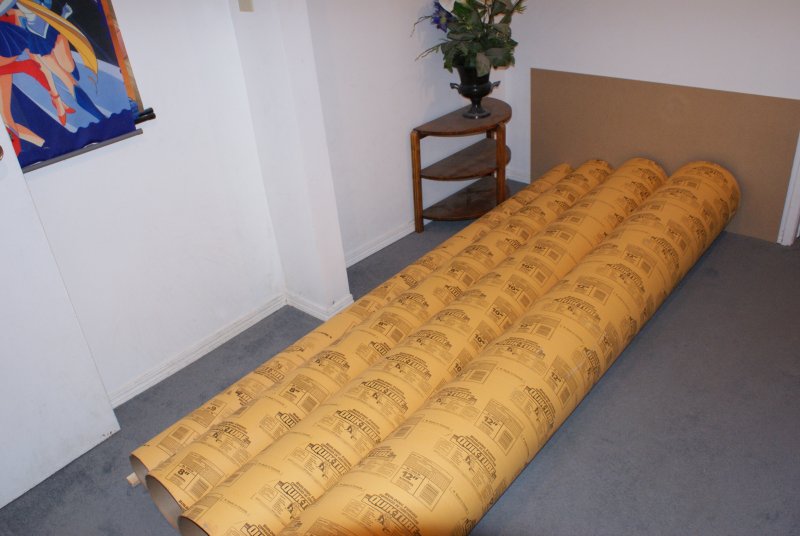
I have a few more figures to finish off that are in partial states of assembly, including this Soy Lady. I also have to make some presentation displays for these things. I plan to build some pedestal displays of varying height and width from Sonoforms. These are pressed cardboard or paper forms for cement columns and come in 6, 8, 10, and 12 inch diameters. They are fairly strong and are not too expensive. See below.
Even though I am retired, a project deadline looms …
To cast my fence I had to use my absolute biggest perforated flask. It’s a 5×7 inch monster that takes almost 3 kilograms of investment to fill, and it was the only flask big enough to take the 3.75×3.75 inch wax model of the fence. Because I now have to use this huge casting flask I wanted to fill it up with other wax things to cast, so I made new wax models to cast another copy of Black Widow. I was able to sprue and pack all the bronze parts into the flask except for the hair parts, so with two flasks I can cast another complete copy of Black Widow.
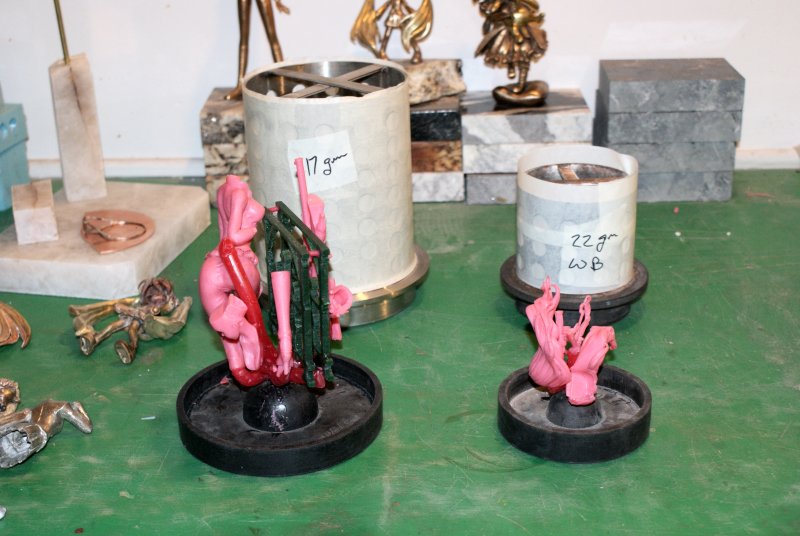
When I weighed the wax in the 5×7 flask it came in at 117 grams which meant that I had to melt and pour over a kilogram of bronze for this one pour! Wow! The biggest pour I had done before was about 600 grams, so this melt and cast was one for the record books, for me.
When I weighed 1 kg of metal and put it in the crucible to see if it fit, it completely filled my graphite crucible! How was I supposed to get any more metal into the melt? I needed about another 80-100 grams. Fortunately, with the Everdure silicon bronze alloy I used, once the casting grain started to melt it settled down in the crucible and I was able to add more. When it was all melted and at the 1070 C casting temperature where I pour, the crucible seemed to be about 1/2 to 2/3 full of molten bronze. The picture below shows the cast result. It was all perfect!
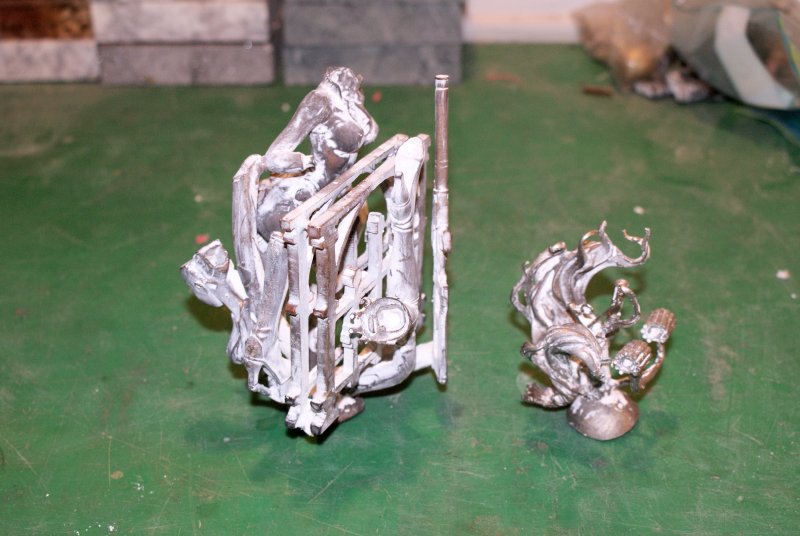
So, when I cut the parts apart, I now have (2) successful bronze fences for my bases, as well as another set of parts for a second Spy Lady.
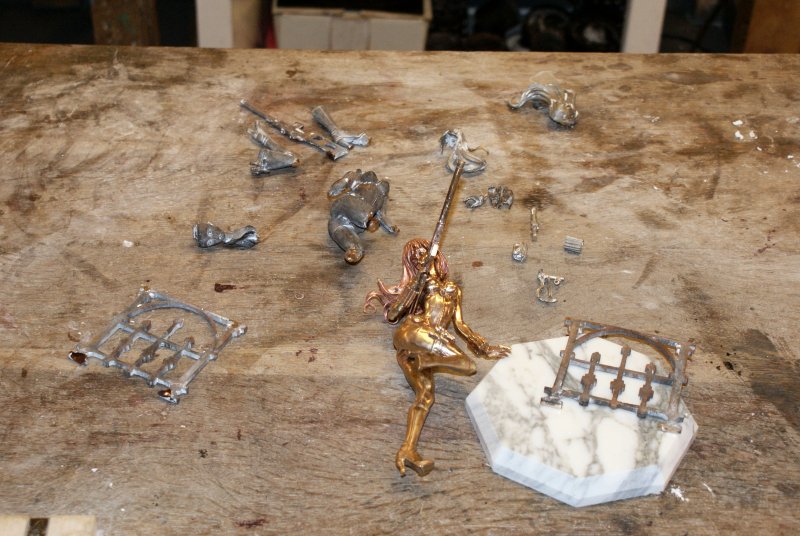
I can now assemble my base. One thing I have to do is put a pin into the figure, and of course drill a hole into the marble base. I am soldering a piece of 3/16 inch diameter brass rod for the pin, mostly because I also have a 3/16 inch diamond drill bit that I can use to put the corresponding hole into the stone. Of course, I have to do a similar pinning exercise for the fence, but this time I use 0.81 inch diameter brass rod in each end of the fence and a 2.1 mm diamond drill bit for the marble.
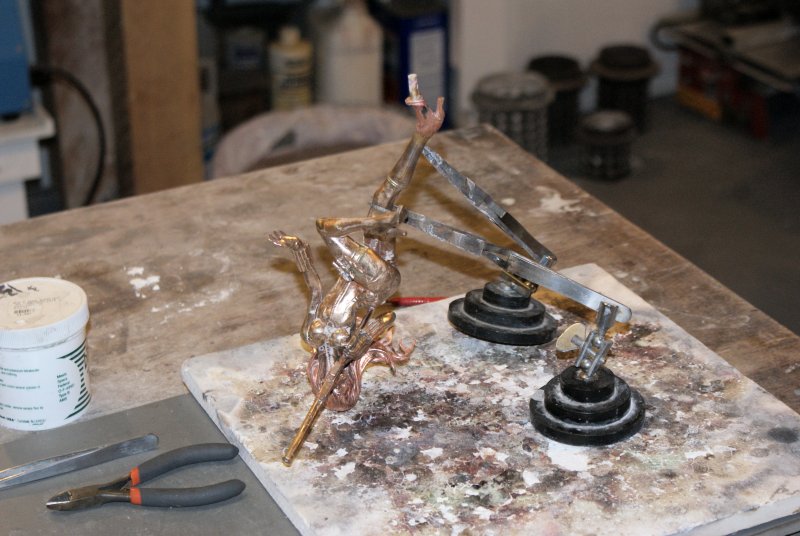
I also have to finish the silver rings on the chain about the girl’s hips. I will solder them on now as I won’t be able to do this once I have put the black Ceramitation on to color her costume. I made and soldered each ring individually to fit, not knowing if I would have solder problems and possibly melt the rings trying to attach them to the body, but I think this was not the best. Next time I will make a set of consistent sized jump rings.
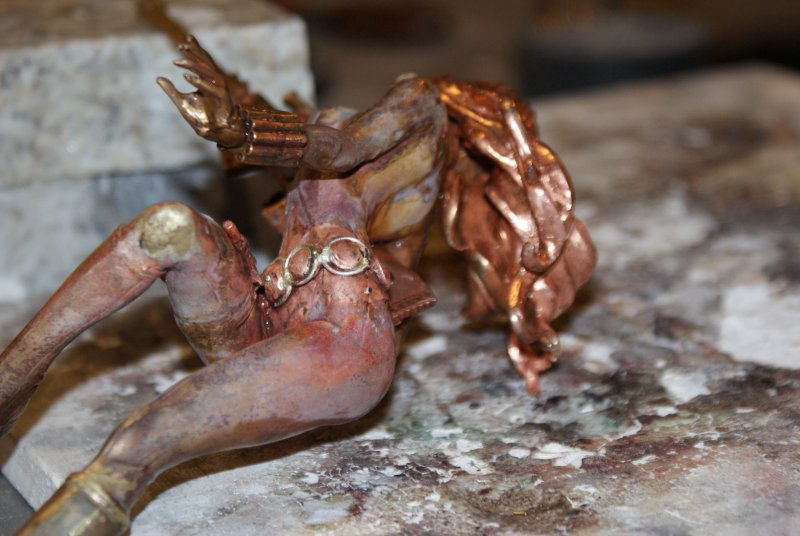
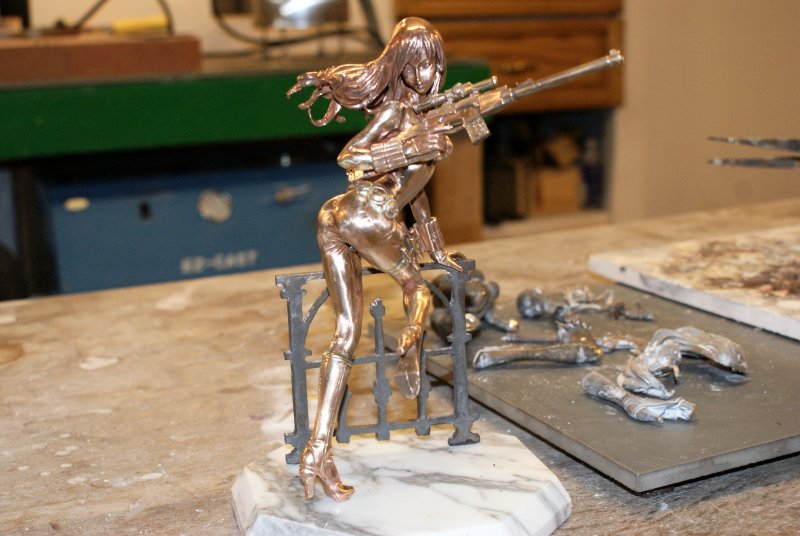
Now, here you see what she looks like all finished and polished and set on her base. In some sense this could be considered a finished work and I might leave my second copy like this, but I do want to see what she looks like if I colour her costume black. So I have more to do …
The next picture shows the figure masked and sprayed with the first coat of Ceramitation. I use Xylene to thin the Ceramitation, as I figured out that this was essentially the same chemical that they sell as the thinner for the product. It seems to work just fine.
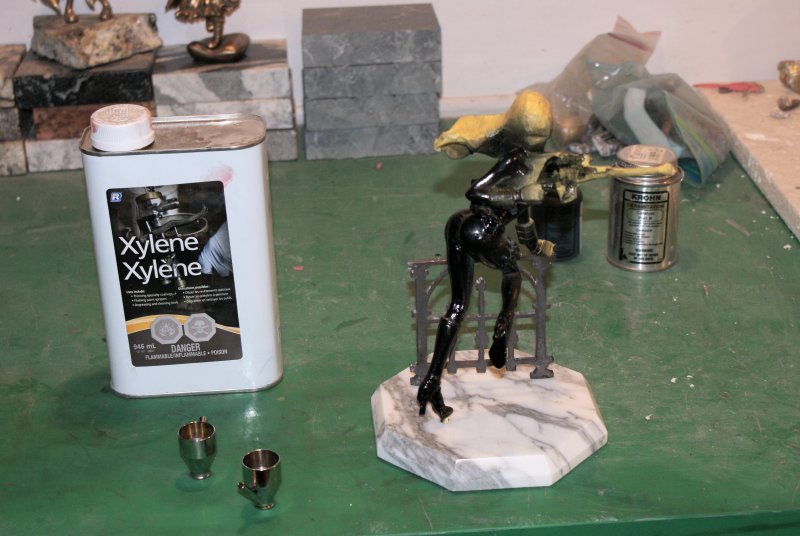
Here is the figure after 3 coats of the Ceramitation, with some of the masking tape removed. I think that I managed to get a good high gloss finish? Acetone can be used to remove uncured Ceramitation fairly easily. Cured Ceramitation is like enamel, hard and glossy, and difficult to remove without abrasion. Acetone will also remove the cured product if it soaks for quite a while.
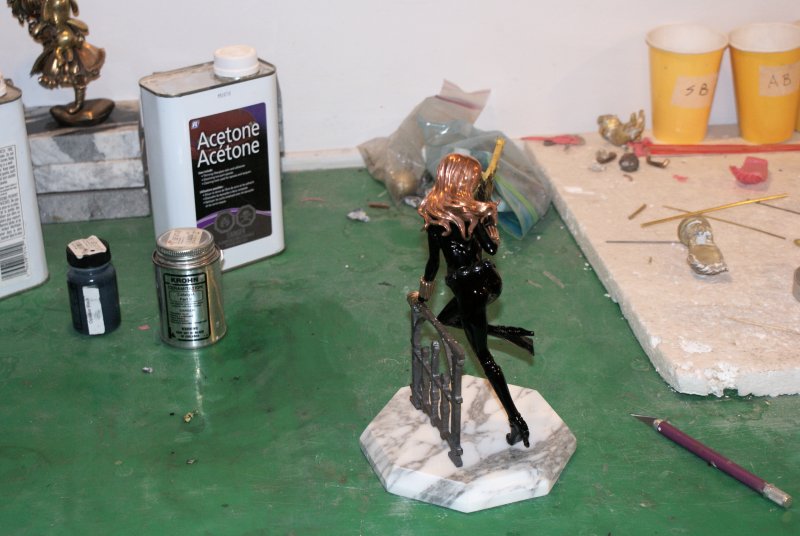
And last, but not least, here is a picture of my Spy Lady, almost fully complete. I still need to clean up her silver chain, but other than that, I think she is done. And, you can see that I am beginning to solder the second copy of my Spy Lady …


No comments yet.